Physical Address
304 North Cardinal St.
Dorchester Center, MA 02124
Physical Address
304 North Cardinal St.
Dorchester Center, MA 02124

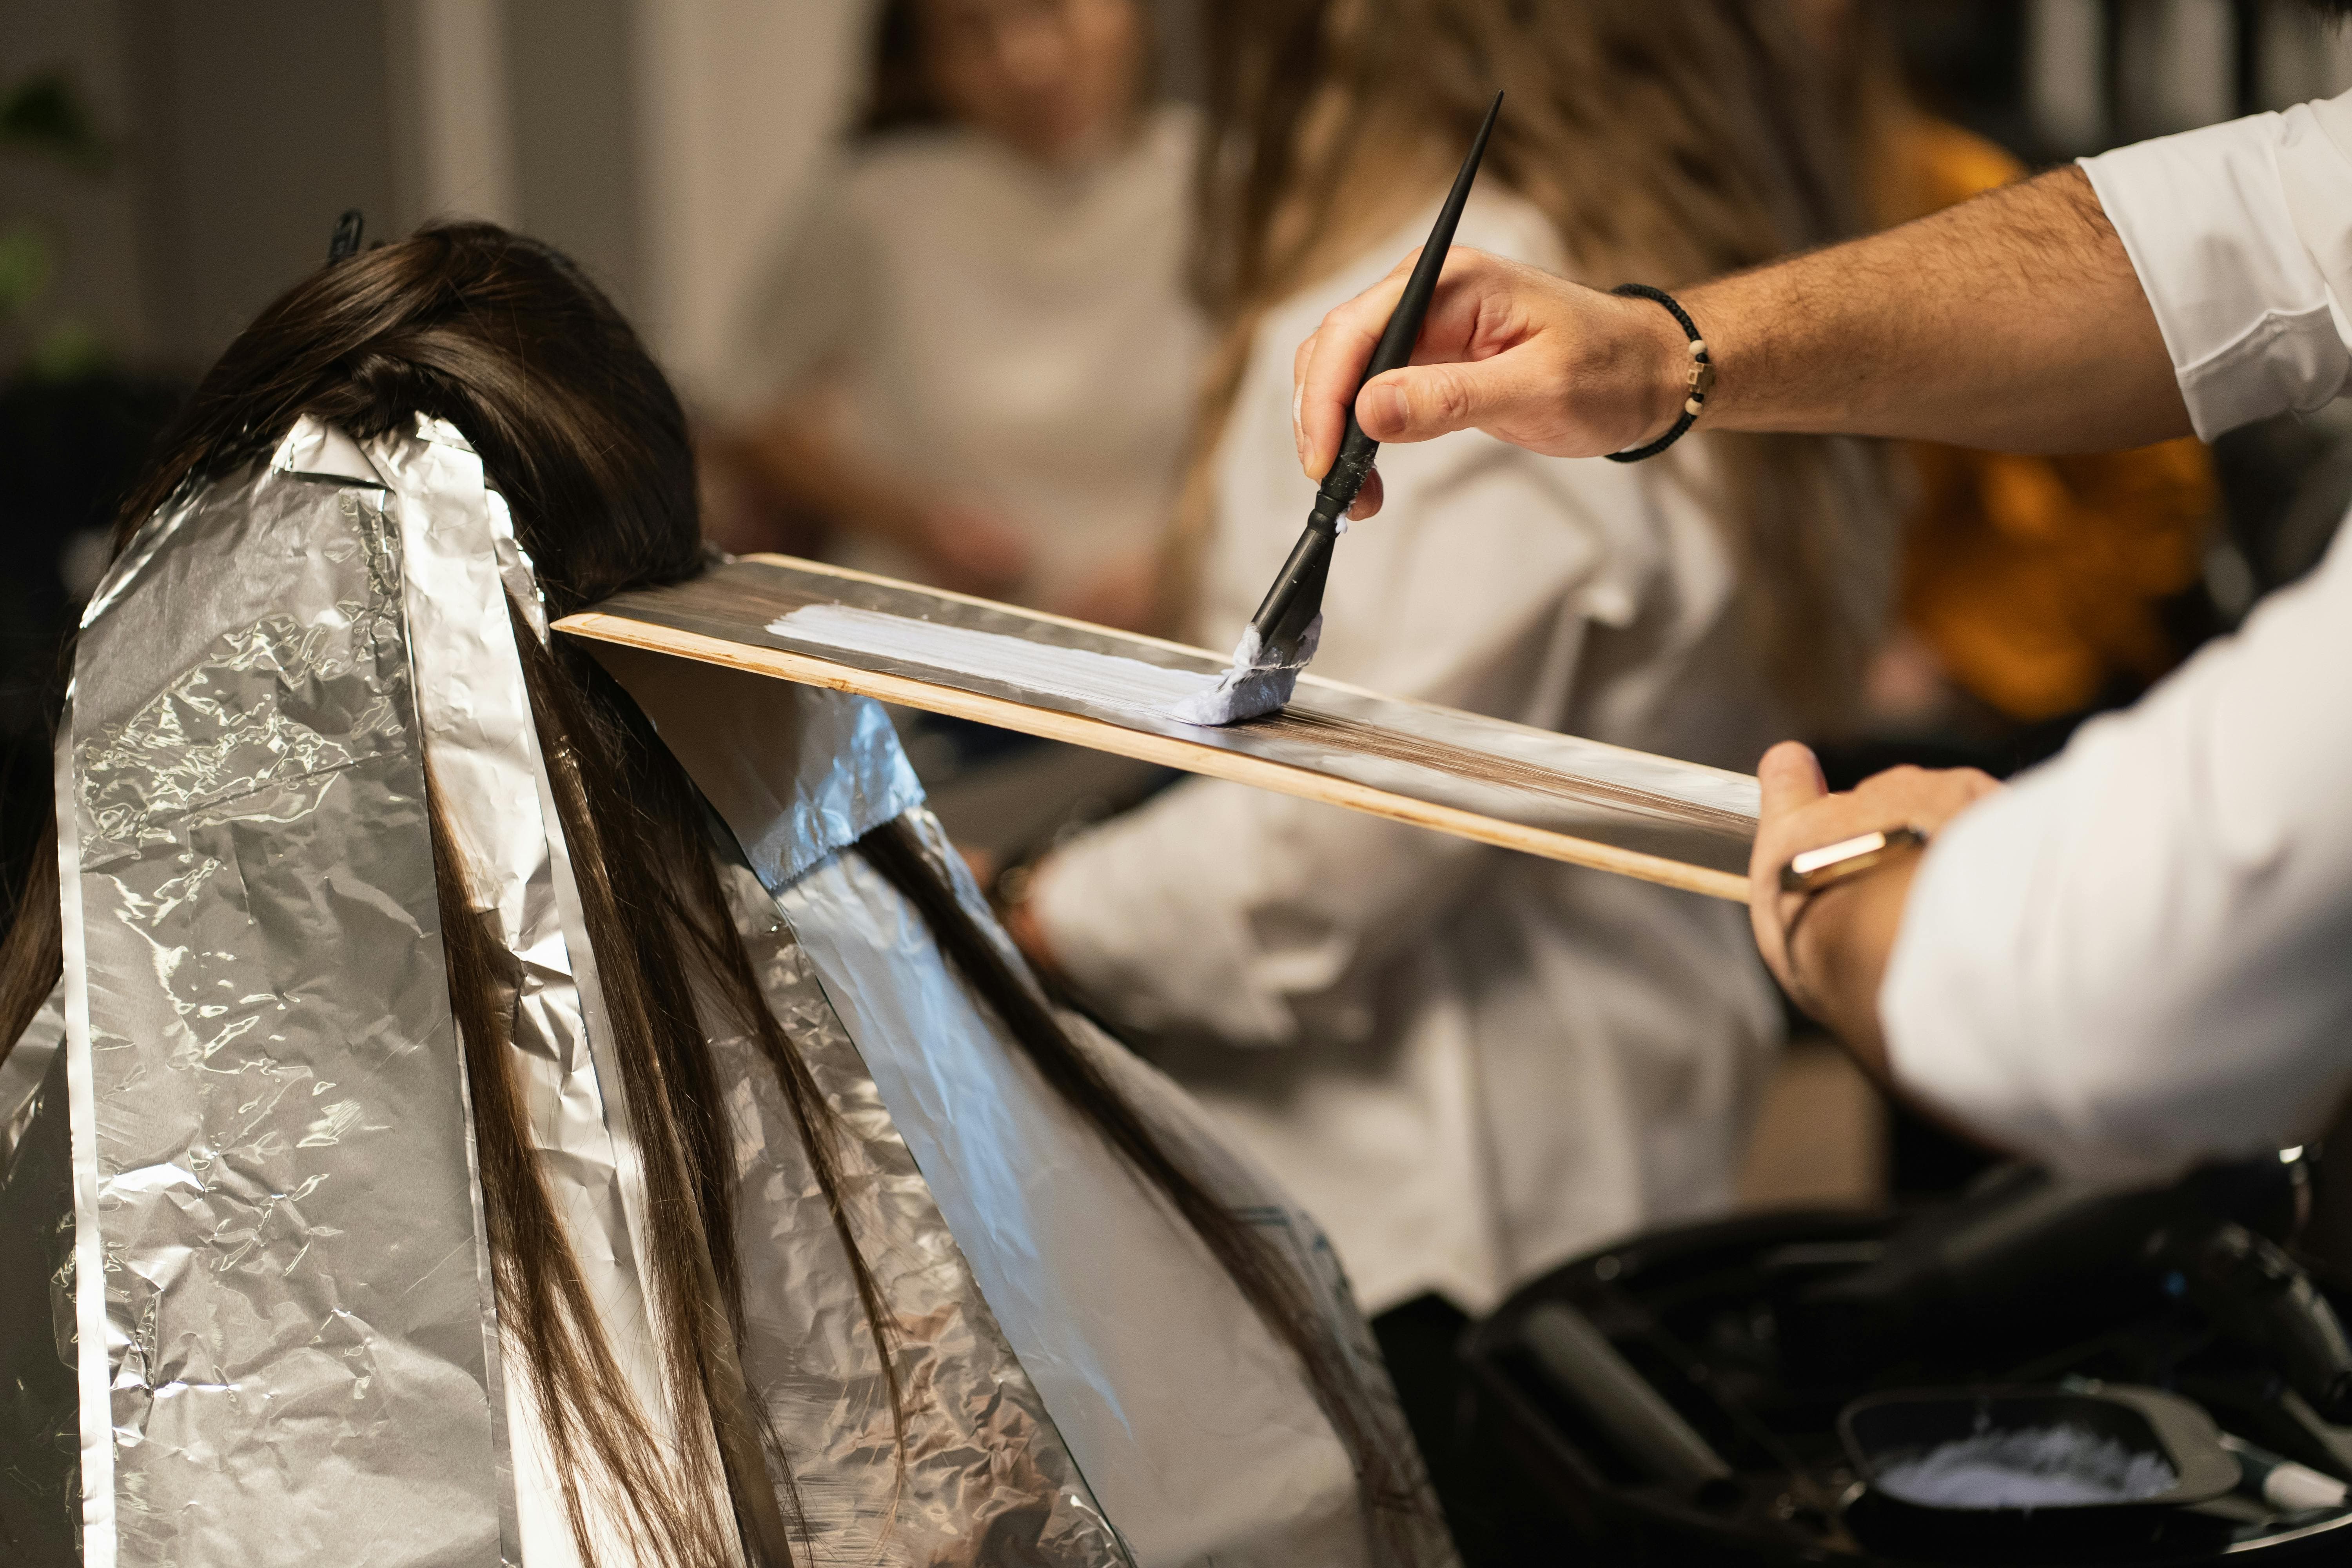
Have you ever glanced in the mirror after a fresh chemical treatment and admired how vibrant and sleek your hair looked, only to notice a few weeks later that it’s lost its luster? Chemical treatments, whether it’s coloring, perming, or straightening, can give your hair that instant wow factor, but they also have a sneaky side effect: damage.
As a busy woman, juggling work, family, and everything in between, it’s easy to reach for the convenience of a quick salon fix. We’ve all been there. I remember the time I decided to add platinum blonde highlights on a whim, thinking it would be the perfect change-up for summer. The result was nice, but what I didn’t anticipate was the aftermath, my hair became so brittle that it felt like straw. I found myself in a cycle of trying product after product, hoping to revive my once silky strands.
If you’ve ever felt the same, you’re not alone. The good news is that it’s possible to restore your hair’s health with the right care and attention.
In this guide, we’re diving into five simple yet effective tips that can help you repair your damaged hair after chemical treatments. These tips are easy to incorporate into your routine, even if you’re constantly on the go. Let’s start with the first one, something as basic as the shampoo you use can make a world of difference.
This article contains Amazon affiliate links, meaning I may earn a commission if you make a purchase through these links, at no extra cost to you.
The shampoo you choose can either be a friend or foe to your chemically treated hair. Picture this: your hair after a chemical treatment is like a delicate fabric, silk, perhaps. Just like you wouldn’t wash silk with a harsh detergent, your hair needs a gentle, natural shampoo to maintain its integrity.
Natural shampoos are free from sulfates, parabens, and other harsh chemicals that strip your hair of its natural oils. Instead, they’re packed with nourishing ingredients like aloe vera, coconut oil, and tea tree oil, which help to soothe and hydrate your scalp while cleansing your hair without causing further damage.


I learned this the hard way after my blonde experiment. Initially, I continued using my regular shampoo, which was full of sulfates, and my hair kept getting worse, dry, frizzy, and completely unmanageable. It wasn’t until I switched to a natural, sulfate-free shampoo that I started seeing improvements. I am currently using Rhassoul Clay Powder by Amson Naturals. There is only one ingredient: Rhassoul powder. Sometimes, less is more. Aromine Rhassoul Clay Powder also has good reviews. To complete the cleansing, add 2 cups of water with 2-3 tablespoons of apple cider vinegar. This will help balance the hair’s pH and seal the cuticle. My hair felt softer, less frizzy, and it began to regain its natural shine. It was like finding the perfect skincare routine for your face, but for your hair.
Now, you might wonder, how often should you wash your hair with a natural shampoo after a chemical treatment? The answer depends on your hair type and the extent of the damage, but generally, washing one or two times a week is a good balance. Pay attention to your scalp. If it feels itchy, proceed with a hair wash. This routine allows your hair to retain enough moisture while keeping your scalp clean and healthy.
By making this small but significant change to your hair care routine, you’re already on your way to repairing the damage. Just like switching to a healthier diet can improve your overall well-being, using a natural shampoo is the first step in nourishing and healing your hair from within.
If your hair could talk after a chemical treatment, it would probably be begging for some serious help. That’s where a good repair product comes in.
One product that has gained a cult following for a reason is Olaplex. It’s not just another conditioner or mask, it’s a game-changer in the world of hair care, especially for those of us who love to experiment with colors and styles. Olaplex works by repairing the broken bonds in your hair, essentially gluing them back together so your strands can regain their strength and elasticity. It’s like giving your hair a second chance at life, a do-over after the damage has been done.
I remember the first time I used Olaplex No.3 after my hair had gone through a particularly harsh round of relaxer. My hair felt like it was hanging on by a thread, dry, brittle, and fragile, as if it could snap at any moment. But after just a few weeks of consistent use, I noticed a remarkable difference. My hair felt stronger, less prone to breakage, and there was even a bit of that lost shine starting to return. It was like watching a withered plant slowly come back to life with each watering.

For the best results, consistency is key. I found that applying Olaplex once a week over the course of 15 weeks was the sweet spot for my hair. It’s like going to the gym, you won’t see results overnight, but with regular effort, the transformation is undeniable. Your hair will begin to feel healthier, stronger, and more resilient to the stresses of daily life, much like how regular exercise builds up your stamina.
Now, some might wonder, is Olaplex suitable for all hair types? The answer is a resounding yes. Whether your hair is straight, wavy, curly, or coily, Olaplex can work wonders in repairing the damage. And the results? They start to show as early as the first few treatments, making it a must-have in your post-chemical treatment recovery arsenal.
Investing in a product like Olaplex is like giving your hair the support it needs to bounce back, just as you would invest in a good skincare routine to keep your skin looking its best. It’s a commitment, but one that pays off with stronger, healthier, and more beautiful hair that can withstand the test of time.
Your hair feels dry, thirsty, and desperately in need of moisture after a chemical treatment. That’s where an oil bath comes in, it’s the perfect hydrating boost your hair craves.
An oil bath is more than just a quick fix; it’s a luxurious, deep-conditioning treatment that goes beyond surface-level hydration. When I first heard about oil baths, I was skeptical. I thought, “How could a bit of oil make such a difference?” But after trying it out, I was hooked. The process is simple, yet incredibly effective. It’s like wrapping your hair in a comforting, warm blanket that penetrates deep into the strands, delivering moisture where it’s needed most.

There’s a wide variety of oils you can use, each with its unique benefits. Cliganic Organic Argan Oil, often dubbed ‘liquid gold,’ is fantastic for adding shine and softness without weighing your hair down. Viva Naturals Organic Fractionated Coconut Oil is a favorite for its deep moisturizing properties, it’s like a superfood for your hair, soaking in and repairing from the inside out. Olive Oil Conditioning Spray, works wonders for smoothing frizz and adding strength to brittle hair.
Here’s how I like to do it: I start by warming the oil slightly, it helps the oil penetrate better. Then, I apply it generously from the roots to the tips, making sure every strand is coated. I usually leave it on for at least an hour, sometimes overnight if my hair feels particularly dry. It’s a bit like giving your hair a long, hydrating drink that it slowly sips on, soaking up all the goodness.
After rinsing out the oil, my hair feels softer, more manageable, and noticeably shinier. It’s as if the oil bath breathes new life into each strand, much like how a rainstorm revives a wilting garden. I’ve made it a ritual, especially after any chemical treatment, to ensure my hair stays healthy and hydrated.
The best part? You don’t have to visit an expensive salon to treat your hair to an oil bath. It’s an easy, at-home treatment that fits perfectly into even the busiest of schedules. Just a little time and care can make a world of difference in restoring moisture to your damaged hair, making it feel smooth, strong, and ready to face whatever comes next.
After a chemical treatment, your hair is like a delicate silk scarf, it’s beautiful but fragile, easily damaged by the slightest rough handling. The last thing you want to do is subject it to the intense heat of styling tools like blow dryers, curling irons, or straighteners. Heat styling, while convenient, is like a hot iron on that silk scarf, it can leave your hair scorched, brittle, and even more vulnerable to breakage.
I used to be addicted to my flat iron, straightening my hair daily to keep it sleek and smooth. But after one too many chemical treatments, I noticed that my ends were splitting faster than I could trim them, and my hair lost its natural bounce. It was like my hair was crying out for a break, but I didn’t know how to style it without my trusty heat tools.
That’s when I discovered the magic of heatless styling. At first, it felt daunting, how could I achieve the same polished look without heat? But then, I realized that heatless styles aren’t just kinder to your hair; they can be just as chic, if not more so, with a little creativity.
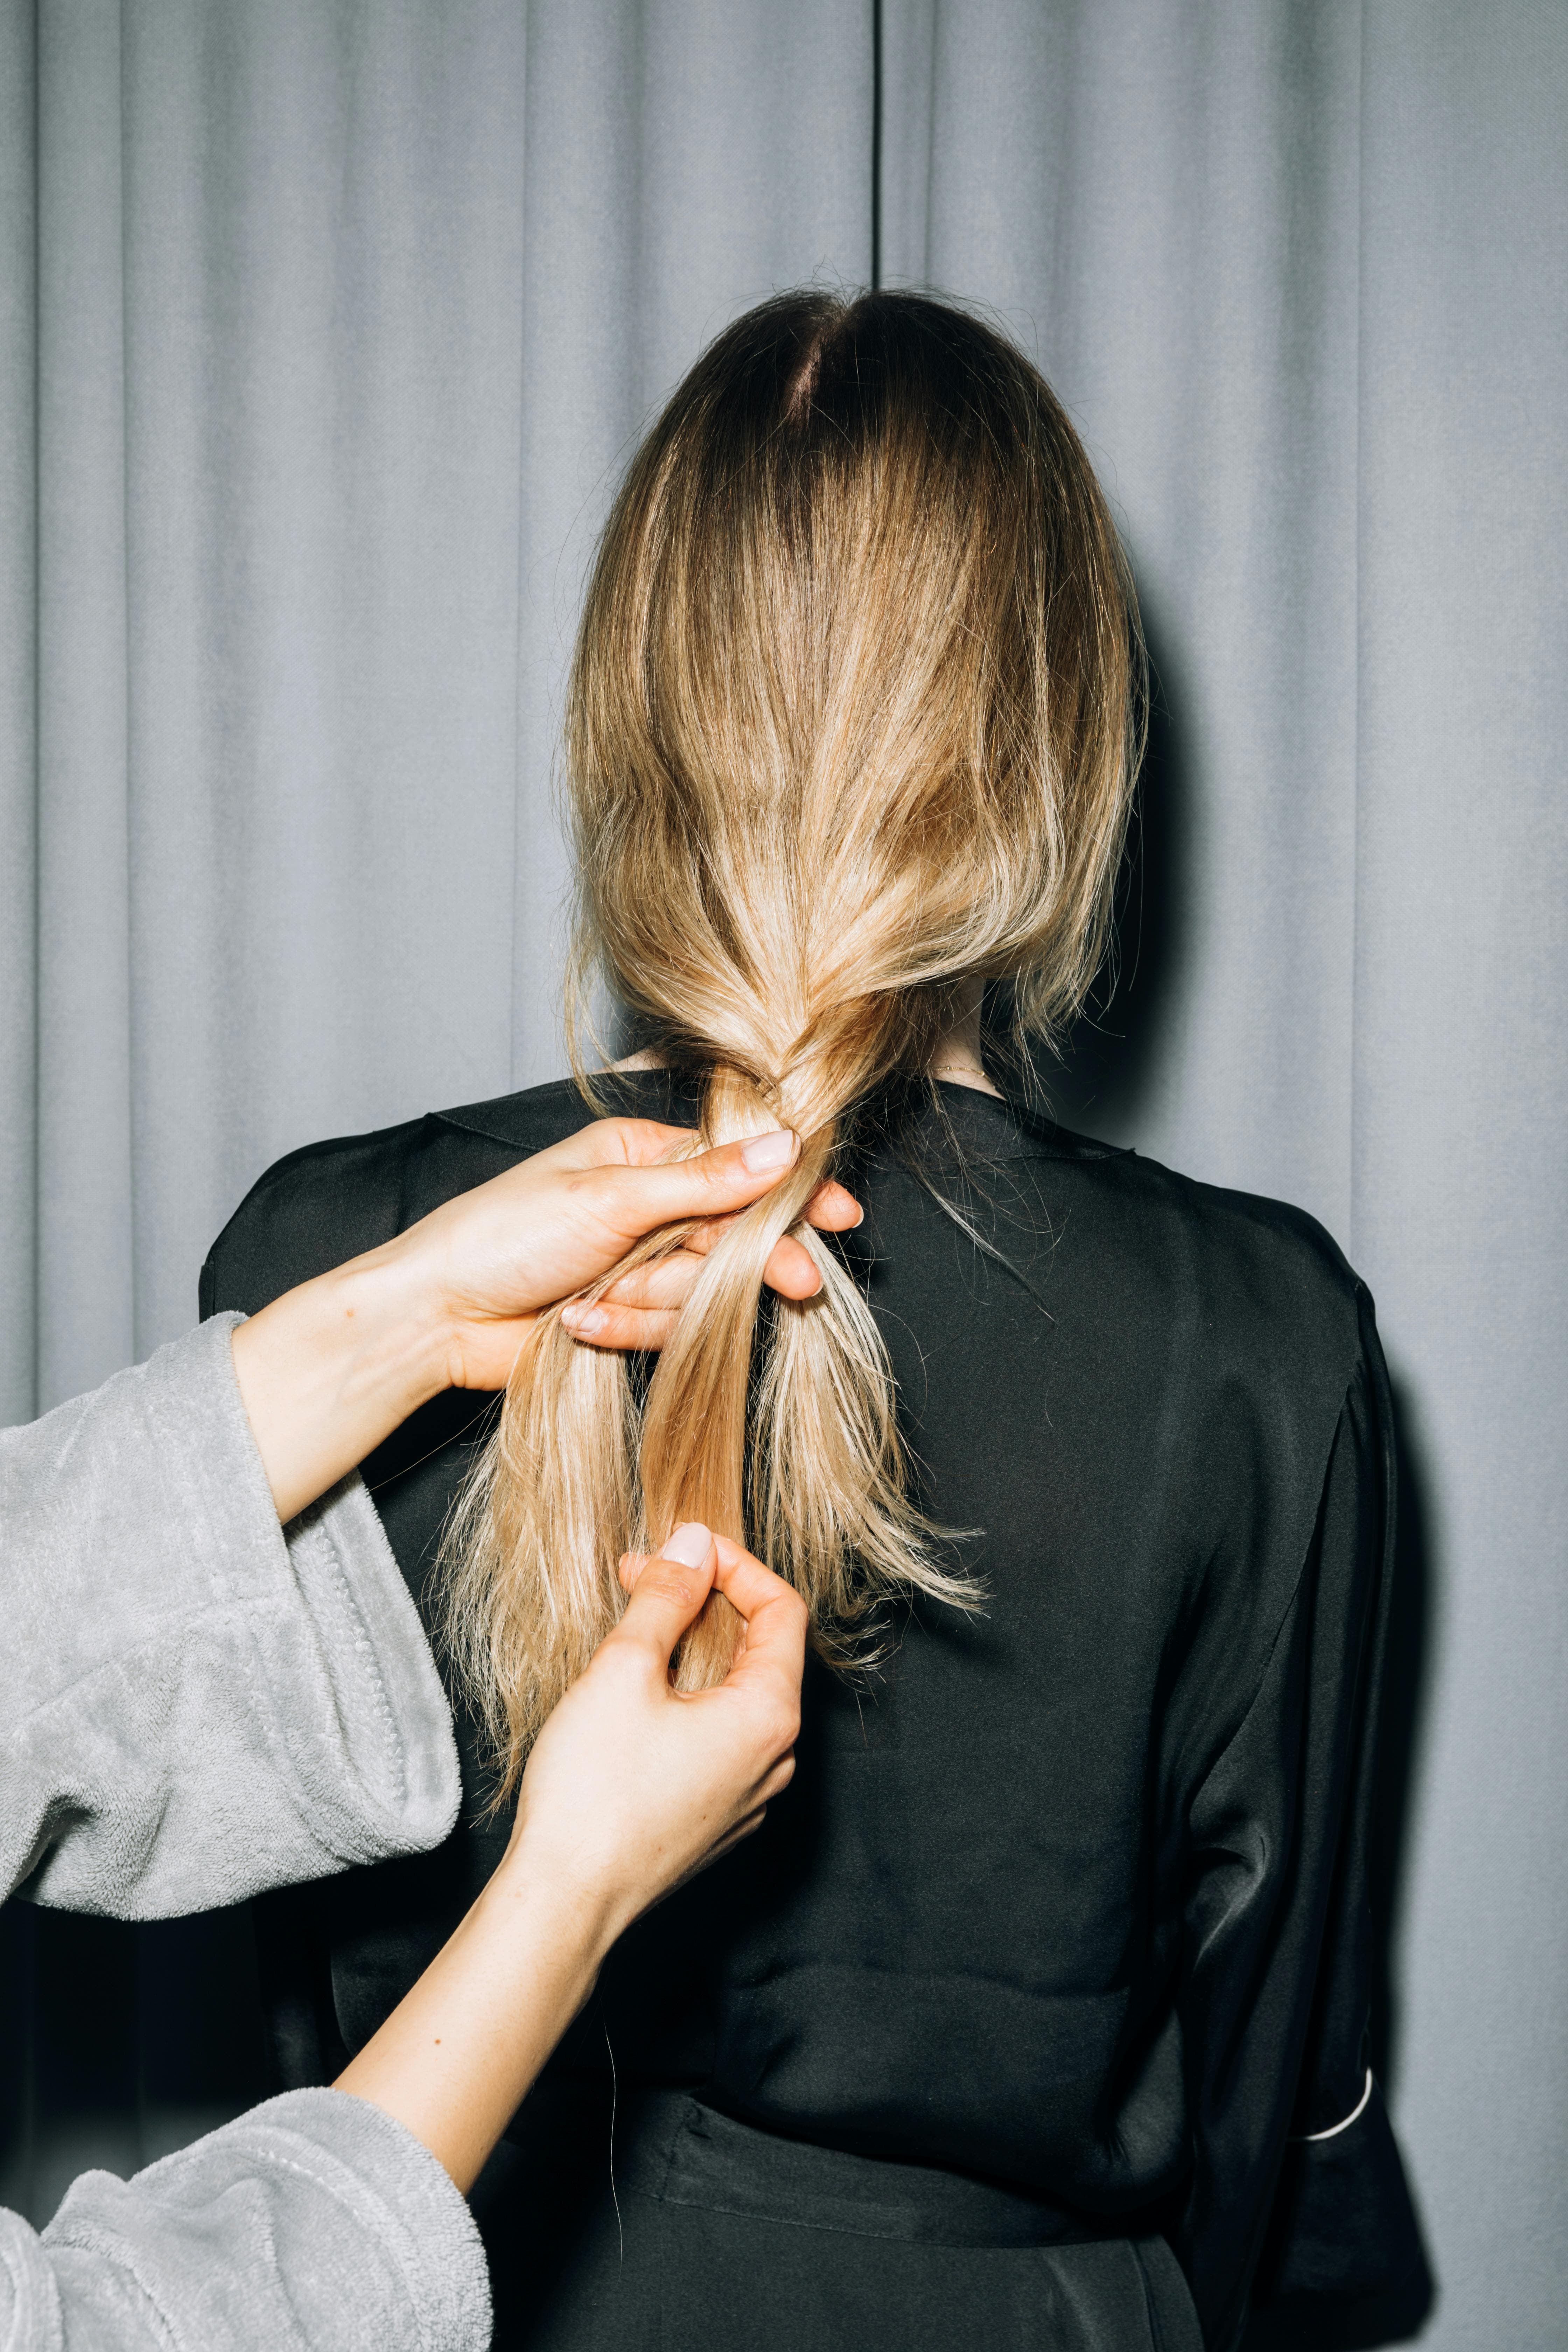
One of my go-to styles became the overnight braid. It’s simple: I’d braid my hair before bed. In the morning, I’d wake up to soft, natural waves that didn’t require a single pass of the curling iron. It was like discovering a secret shortcut, effortless, stylish, and completely damage-free.
Another favorite was the twist-and-pin method. I’d twist sections of my hair and pin them up, leaving them to set for a few hours. When I let them down, I’d have soft curls or waves, depending on how tightly I twisted them. It was like turning back the clock on my hair damage, giving my hair the time it needed to heal without sacrificing style.


Air-drying became my new best friend, too. Instead of rushing through my routine with a blow dryer, I started using a microfiber towel to gently blot my hair dry. Then, I’d apply a leave-in conditioner and let my hair dry naturally. The result was hair that looked healthier and felt softer, without the frizz that usually came with air-drying.
The key to heatless styling is to embrace your hair’s natural texture and find styles that work with it rather than against it. It’s about letting your hair breathe, recover, and show off its true beauty without the added stress of heat. And trust me, once you start experimenting with these styles, you’ll find that your hair not only looks better but feels stronger and more resilient over time.
So, give your hair a break from the heat. Embrace the natural, effortless styles that protect your strands while still letting you look and feel fabulous. Your hair will thank you for it, and you’ll soon wonder how you ever lived without these heatless hacks in your routine.
Dead ends in your hair can prevent it from looking its best, it’s difficult to detangle and may even cause more damage if not properly managed.
I recall the first time I really noticed my split ends, after a series of chemical treatments, my once vibrant hair had become a frayed mess at the tips. It was like my hair was sending out a distress signal, showing signs of wear and tear that needed urgent attention. I tried to ignore it, hoping a good conditioner would solve everything, but the split ends kept getting worse. It was a bit like trying to patch up a sinking ship with band-aids.
That’s when I decided to take matters into my own hands and tackle those dead ends head-on. My stylist was making sure to get rid of the damaged ends and keep my hair looking fresh and healthy. It’s a simple but effective practice that can make a world of difference.
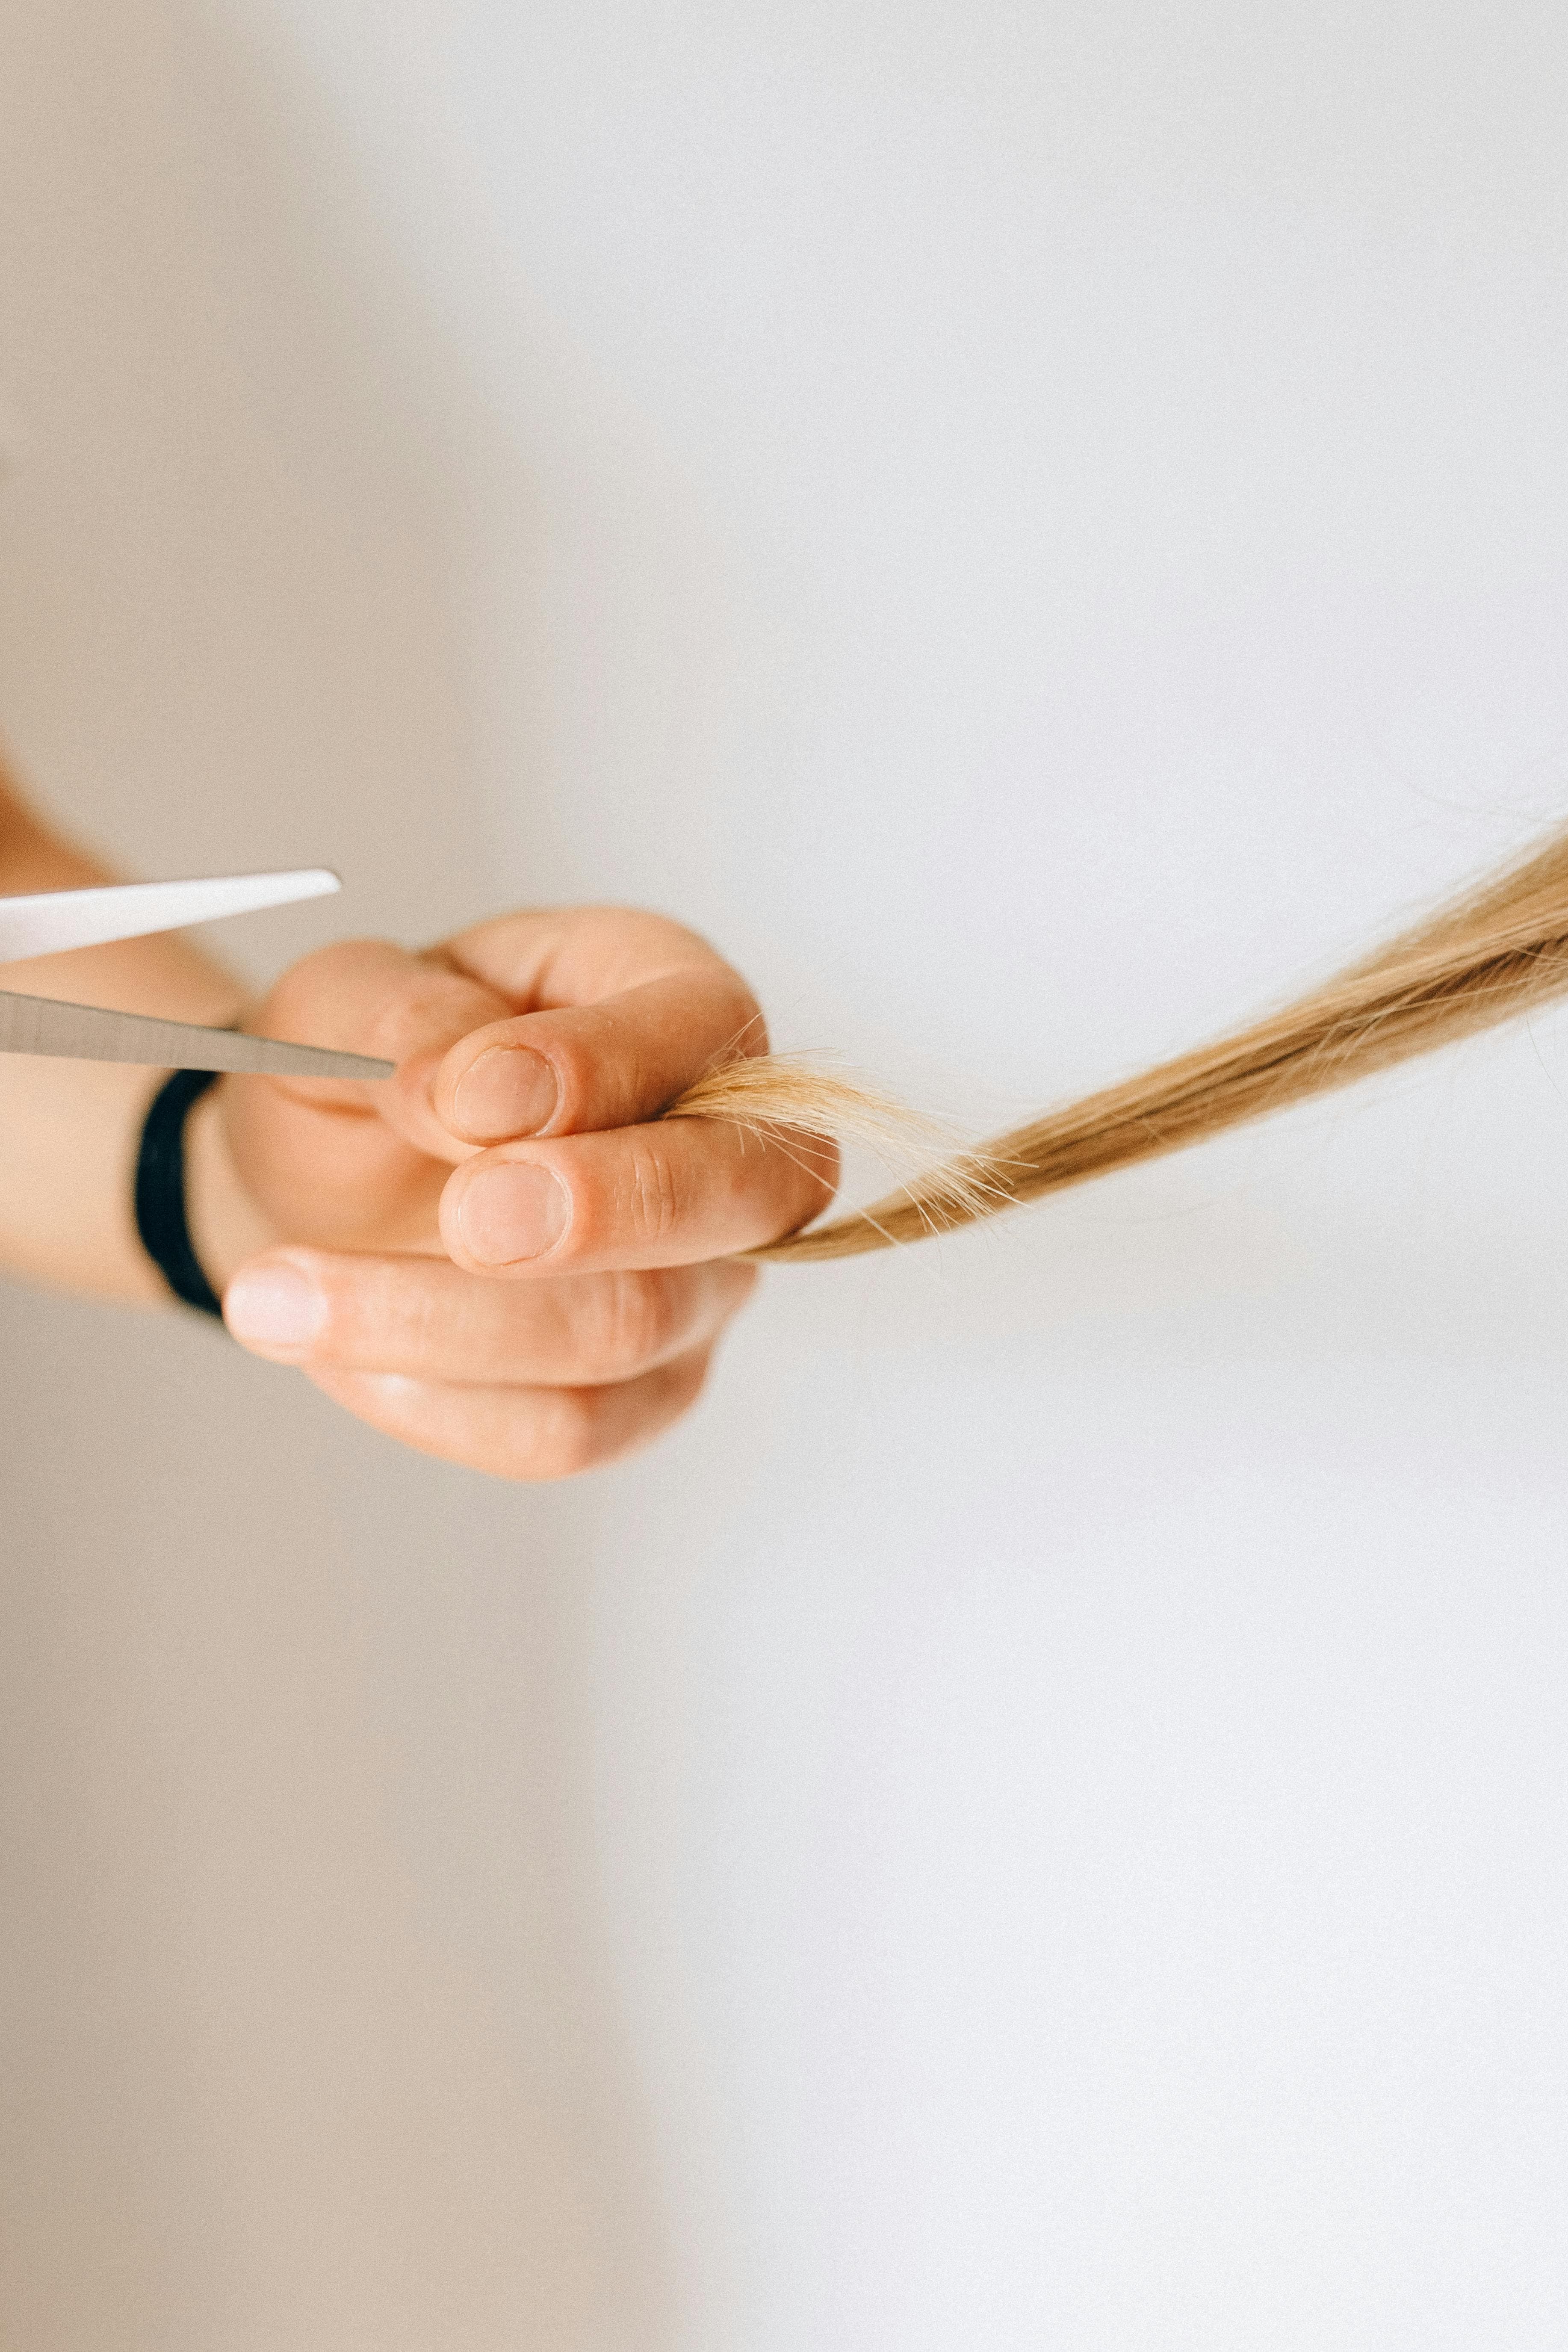
If salon visits aren’t feasible, you can also trim your hair at home. Start by detangling your hair and then carefully snip off the split ends with sharp scissors designed for hair cutting like Equinox Razor Edge Series. It’s important to use the right tools, regular scissors can cause more damage by crushing the ends rather than cutting them cleanly.
Keeping your ends healthy doesn’t just stop with trims, though. Incorporate this habit into your regular hair care routine. If you notice your ends becoming frayed, don’t wait for them to get worse. A quick trim can prevent further damage and keep your hair looking vibrant and strong.
By removing the dead ends, you’re not just giving your hair a cleaner, healthier appearance; you’re also helping to prevent split ends from traveling further up the strand. It’s a proactive step in your hair care routine that can save you from more extensive damage down the line.
So, make it a point to keep those ends in check. Cutting the dead ends are like giving your hair a fresh start, allowing it to grow stronger and healthier with each passing day.
Chemical treatments can give your hair a stunning makeover, but they also leave it in need of some thoughtful care. Repairing your hair requires a blend of patience, the right products, and a few tried-and-true techniques.
In this journey to restore your hair’s health, remember that each step plays a vital role. Using a natural shampoo is like giving your hair a gentle, nourishing cleanse that respects its delicate balance. Investing in a good repair product, such as Olaplex, is akin to providing your hair with a powerful rejuvenation treatment that repairs and strengthens from within. An oil bath is your hair’s equivalent of a luxurious spa day, offering deep hydration and nourishment that revives even the driest of strands. Embracing heatless styling is like choosing a gentle touch over a harsh one, allowing your hair to recover and shine naturally. And removing the dead ends is like giving your hair a fresh start, preventing further damage and promoting healthy growth.
Every step is a building block in the process of restoring your hair to its full, vibrant potential. While it may take time, think of it as a rewarding journey rather than a quick fix. You’ll witness the transformation of your hair as you incorporate these practices into your routine.
So, let this be your guide as you navigate the path to healthier, more resilient hair. Embrace each tip with the confidence that you’re investing in a long-term, beautiful outcome. Your hair, like any treasured possession, deserves the best care you can give. With patience and the right approach, you’ll soon find yourself admiring not just the results, but the journey that got you there.